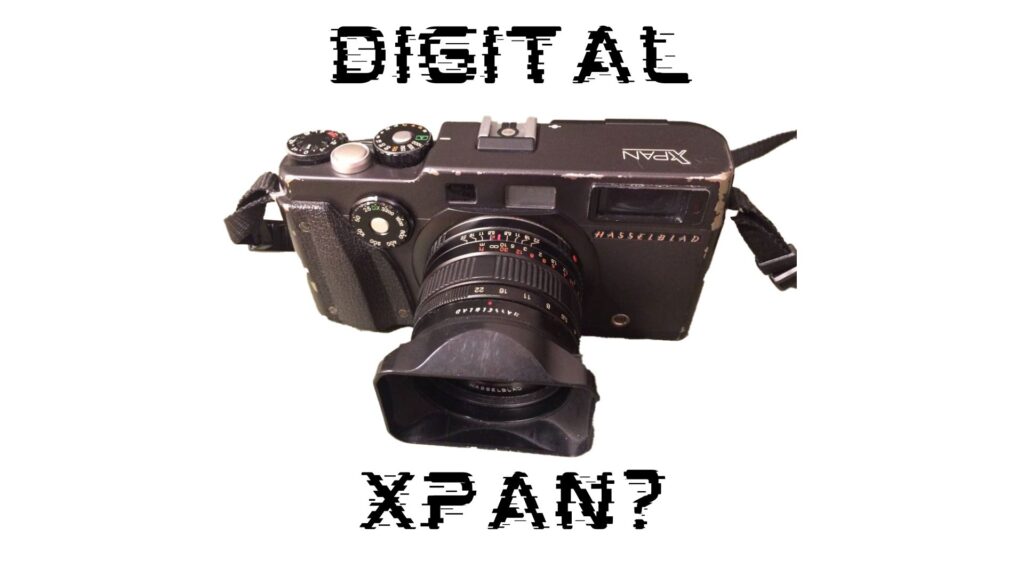
The Hasselblad Xpan camera is a true gem in the world of photography, known for its unique ability to capture stunning panoramic images on 35mm film.
Launched in 1998 by Hasselblad, the Xpan remains a favorite among photographers seeking the distinctive look and feel of panoramic photos, and that’s the main reason it remains a unicorn camera for lots of photographers, even today.
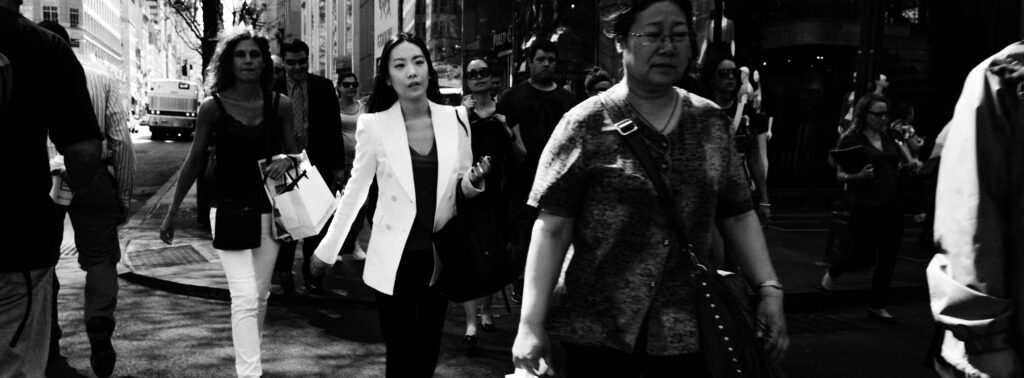
The XPan can shoot regular 35mm format images (24×36mm), but its party trick is that you could quickly switch to a panoramic 24×65mm format on the exact same film, resulting in 2.7:1 (or 65:24) aspect ratio images.
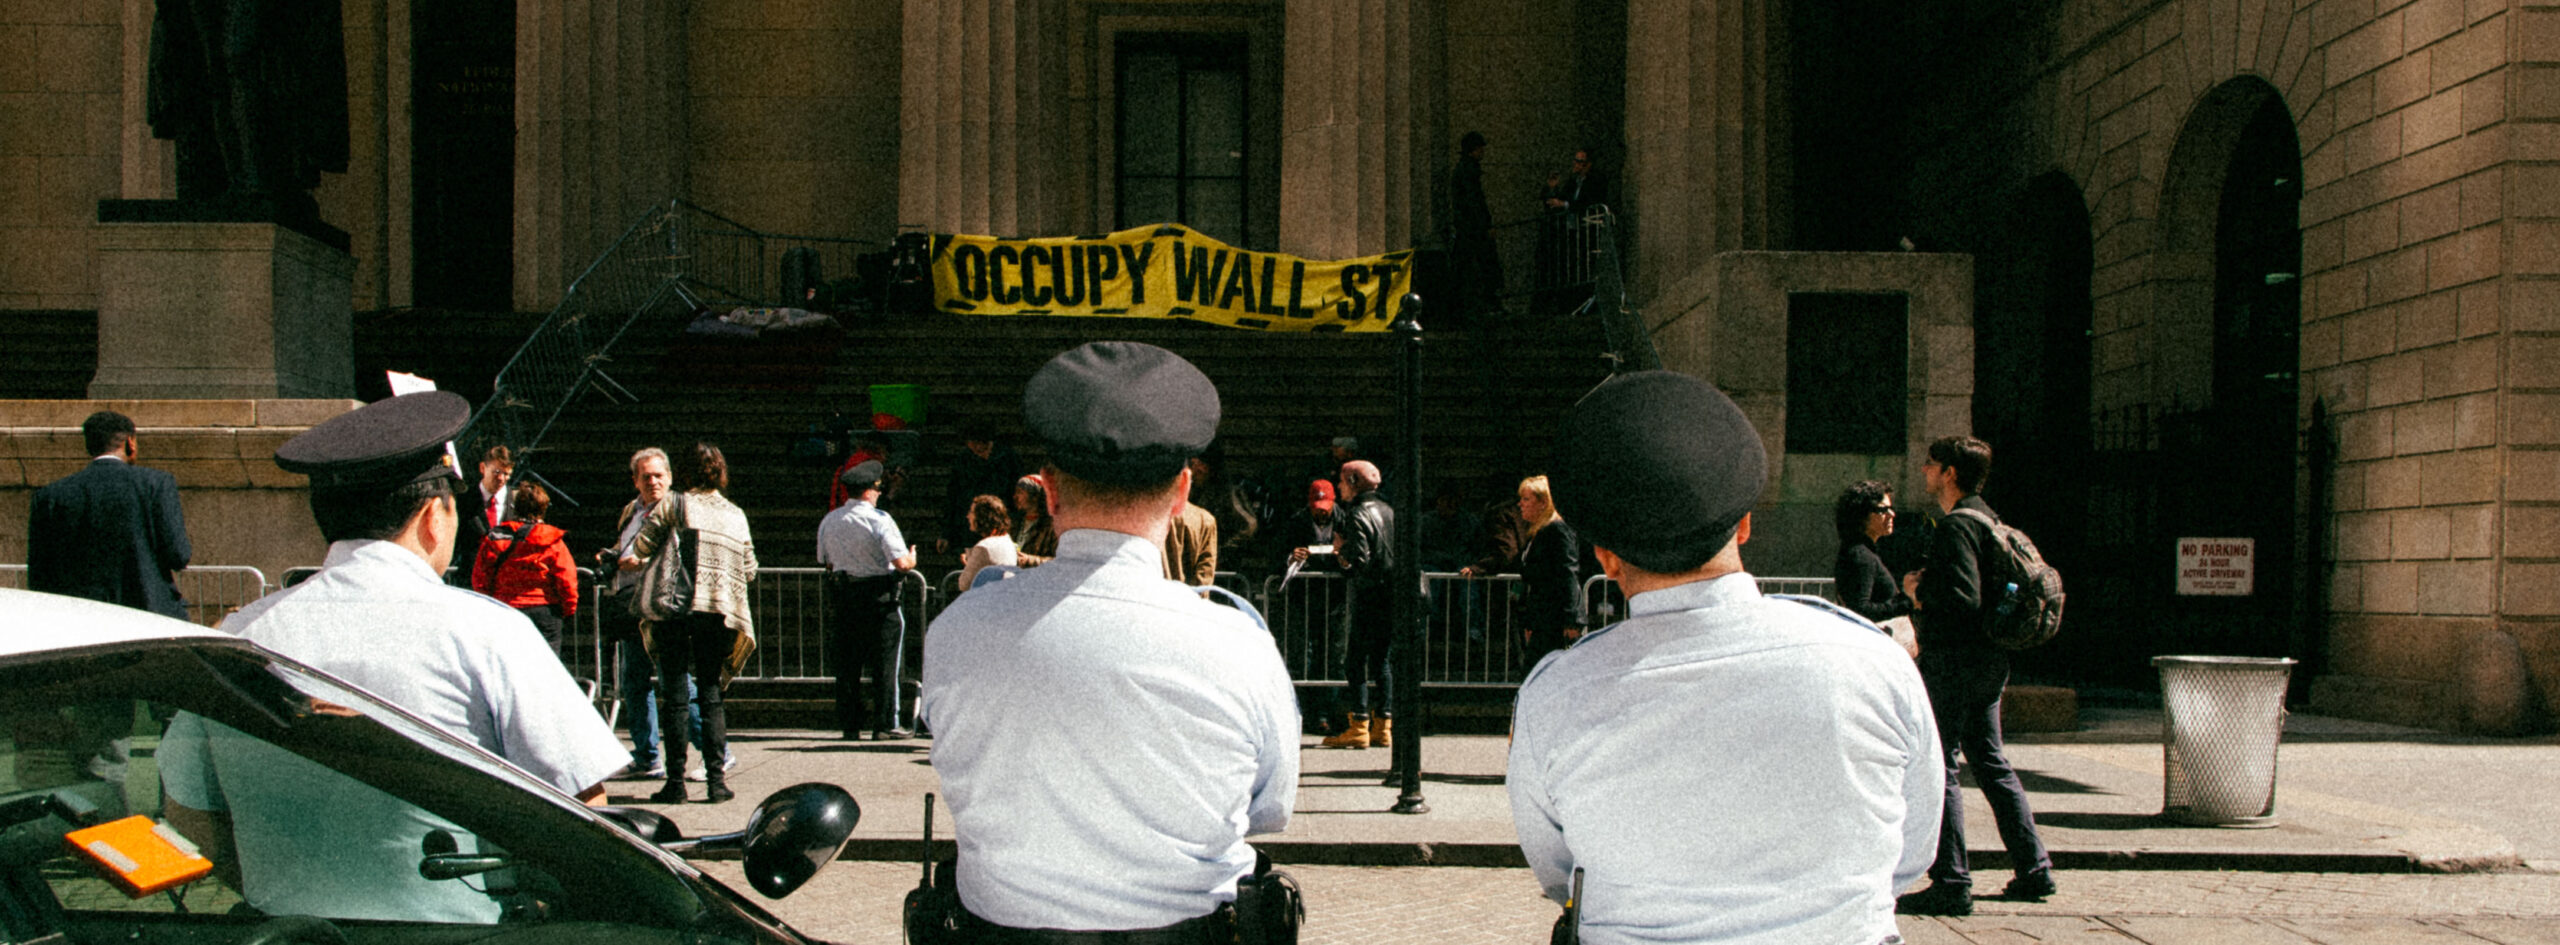
Now, I’d heard of the XPan many times before (including its siblings, the Fujifilm TX-1 and TX-2) but I never really paid attention to it. I wasn’t a landscape photographer, and the way I figured it, panoramic shots are for landscapes, right?
That was until I came across the work of Jens Olof Lasthein. Now, Lasthein does NOT actually shoot with an XPan. He shoots with a Widelux camera, which works entirely differently from the XPan. The Widelux is actually a swing lens camera, meaning the lens literally rotates on a central axis, resulting in similarly wide images, but with quite a bit more distortion.
But, anyway, I’m not here to talk about the differences between an XPan and a swing lens camera. I’m here to talk about getting the panoramic X-Pan look in-camera with today’s digital cameras. I bring up Lasthein because it was Lasthein’s work that first made me realize that panoramic aspect ratios are not just for landscapes. Here was a photographer doing documentary and “street”-like images with a panoramic camera! I was blown away.
And, that is what led me to searching for a used X-pan on eBay. But, I quickly found out that they still go for upwards of $5000 or more, which is just not something I’m willing to spend for a camera that is no longer being sold new with warranty or even with official parts available. That is what led me to the rabbit hole of searching for a digital X-pan camera.
Panasonic Lumix S5II, S9, S1, S1R, S5IIx
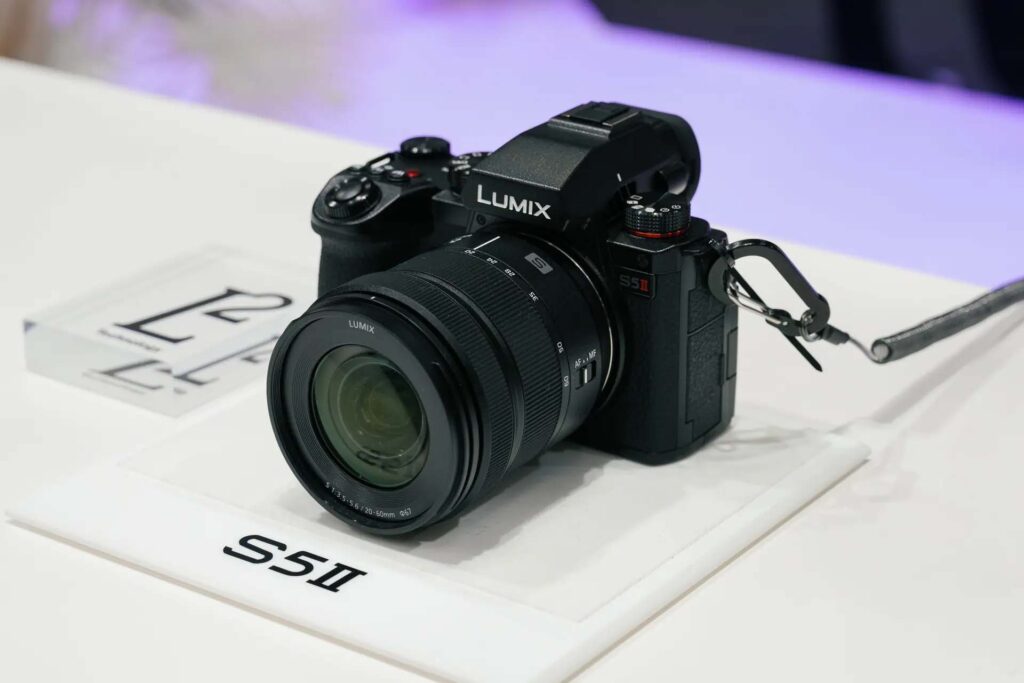
Any of the Panasonic S series full frame cameras can shoot in 65:24 X-pan aspect ratio.
If you want the latest and greatest, with phase-detect AF, the Lumix S5 II, S5 IIx and the Lumix S9 are what you want. All the older models (S1, S1R, S5) only use contrast detect AF, which isn’t great for tracking moving subjects. But, if you plan on using vintage lenses, or just zone focusing with a distance scale, then it won’t matter. The S1 and S1R can be had for really cheap these days, and best of all, the S1/S1R have an amazingly huge viewfinder.
With their 24 megapixel sensors (on the S5, S5II, S9, S1), a 65:24 crop results in a 13 megapixel file (6000 × 2216 image). That’s good enough for up to an 8” x 24” print. And more than good enough for social media posting.
If you don’t care for the latest bells and whistles, the older Lumix S5 can be had for cheap in the used market these days. Even the original Panasonic Lumix S1 and S1R can be picked up for relatively cheaper. Take note though, that the S1 and S1R have significantly bigger and heavier bodies than the S5 series.
But, the big advantage of the S1 and S1R is that they have big, beautiful electronic viewfinders. This is especially useful if you plan on using a lot of vintage lenses or manual focus lenses. Panasonic has a unique PIP (picture-in-picture) manual focus aid, that is really good in practice. IMO, it is one of the best manual focus aides for those of us who love to use manual focus lenses. For me, the Lumix PIP focus aides are the second best manual focus implementation in a modern AF mirrorless camera, outside of the Nikon zF.
The S1R of course, also has the additional advantage of a higher resolution 47.3 megapixel sensor, so you’re left with a lot more megapixels when shooting in 65:24 X-pan format.
With its 47.3 megapixels, the Panasonic Lumix S1R shooting in 65:24 X-pan mode would result in a roughly 25 megapixel file or 8368 × 3089 image size (vs 13 megapixels on the S1 or S5, S5II and S9)
All Panasonic cameras save the full RAW files regardless of the aspect ratio setting. This means that even if you shoot everything in 65:24, you will still have access to the full, uncropped image if you shoot in RAW.
The aspect ratio setting is simply saved as part of the metadata in the RAW file. So, you can still easily view the full 3:2 image as shot by the camera. Most editing programs, such as Lightroom will automatically display the cropped 65:24 file, even when you open the RAW file. You simply need to go to the ‘crop’ controls of Lightroom or your editing program to see the whole uncropped image.
The Lumix s9, of course, is the sole camera here able to use the new Lumix “real time LUT” feature, which allows you to bake in “film simulations” to your JPEGs.

Sigma fp and fpL
The Sigma fp and Sigma fpL have a unique feature that allows you to set a custom aspect ratio in camera. That’s right, any aspect ratio you want.
Sigma calls these “custom frame lines”. This allows the input of any user defined aspect ratio or absolute pixel dimensions.
This was available on the Sigma fpL at launch, and was added to the Sigma fp with firmware 3.0. So, if you don’t see it on your fp, check your firmware.
You can also set custom colors for the frame lines, or set custom shading to mask the outside areas. You can black it out completely, or set it to be more transparent, allowing you to see outside the frame. Just like a rangefinder! Errr, sort of.
Shooting in RAW + JPEG will save the full RAW file in DNG format. Similar to the Panasonic Lumix cameras above, some post processing programs may choose to show the already cropped RAW when first opened, but going to the crop controls should allow you to see the full RAW file.
The fp/fpL don’t get much love from still shooters, which I think is a shame. It’s understandable, the form factor looks like it was designed to be a fully rigged up cinema camera. But, if you are able to, I strongly suggest stills photographers give it a go. It really is a beauty in hand. No, it won’t work great with big lenses, but with small, compact lenses, it’s really a beauty to shoot with. The controls make sense, despite the brick form factor, it is actually a well designed camera that feels really great in the hands with small lenses.
Sony a7c ii and Sony a7cr
The Sony a7c II and the Sony a7cr have a unique feature not seen in any other Sony cameras, to date: aspect markers.
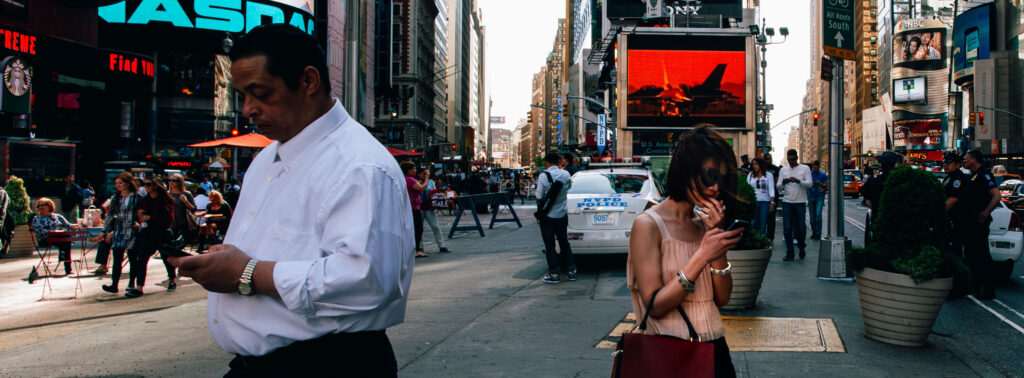
Now, they don’t allow you to set custom aspect ratios like the Sigma above. And they don’t have a 65:24 X-pan crop mode either. But, what the new aspect markers feature does is it allows you to set masks for a 2.35:1 aspect ratio even in stills mode. It’s not X-pan, but it’s prettttty close to the 2.7:1 (65:24) x-pan aspect ratio.
Just like the Sigma cameras above, Sony lets you adjust opacity of the areas outside the photo, from level 1 to 15. With level 15 completely blacking out the areas outside the frame. I prefer setting it to a lower level for more opacity, this allows me to see outside the frame and more easily adjust my composition, as needed. It’s a pretty fun way to shoot.
In the playback menu, you need to turn on “aspect marker display” to review the photos with the aspect marker applied.
On the Sony a7c II and its 33 megapixel sensor, a 65:24 image would be 7008 × 2587 pixels or roughly 18 megapixels. More than enough for most printing scenarios.
On the higher resolution 61 megapixel Sony a7cr, a 65:24 crop would be 9503 × 3506 pixels or roughly 33 megapixels. That’s still a lot!
If you choose to just use the built-in 2.35:1 aspect ratio instead, you get 21 megapixels from the A7C II. On the A7CR, you still get almost 39 megapixels.
Is this setting available on other newer cameras like the a7iv, a7RV or the a6700? Unfortunately not. It’s just one of those Sony things. Will they be added in firmware? I’d say it’s pretty unlikely. It’s too niche a feature, and just going by how Sony historically does things, I don’t think it’s something they will add.
Sony did add this feature to the Sony ZV-E10 Mark II, but that is a mostly video focused camera and doesn’t even feature a mechanical shutter. I won’t recommend it for stills shooters.
As you can see below, the default 2.35:1 crop results in a taller image vs the Xpan 65:24 crop (equivalent to about a 2.7:1 crop).
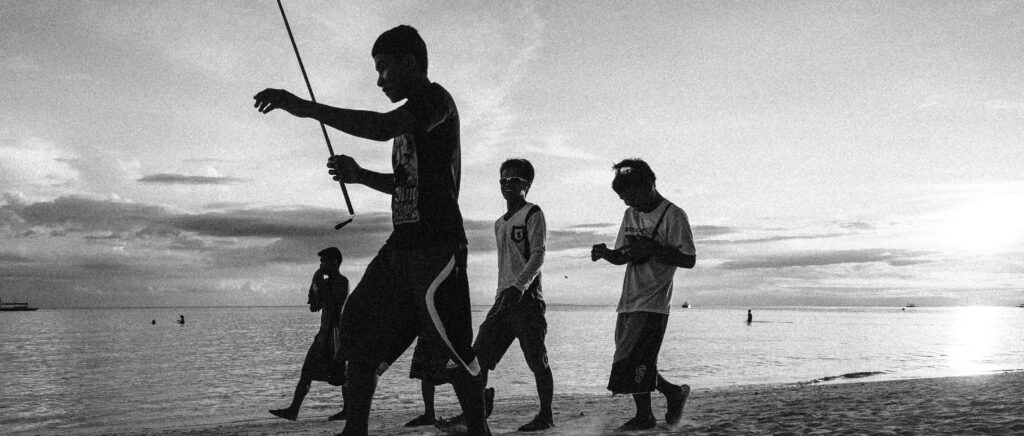

Digital Medium Format: Fujifilm GFX and Hasselblad X1D and X2D
I wasn’t originally going to include these here, since digital medium format can get pretty pricey and if you’re a non-landscape shooter like me, you do give up a bit of speed vs full frame mirrorless.
But, with a bit of looking, it is possible to find some good deals on used bodies, like the Fujifilm GFX 50R, released in 2018.
And, in a way, the X-pan, with it’s two 35mm frames side by side, can technically be called a ‘crop’ of medium format film.
All Fujifilm GFX bodies, including the small-ish GFX50r have a 65:24 crop mode. The GFX50r is the most interesting one to me, since it can be found for relatively cheap in the used market, and with its rangefinder-esque form factor, it’s probably the closest to the size and feel of the X-Pan or TX1/TX2.
For those wondering – the 65:24 crop mode is currently NOT available on the APS-C Fujifilm X-system. I was hoping they would add it once they started using a 40 megapixel sensor, but so far that has not happened yet. Fingers crossed it will be added to the future Fujifilm X-Pro3.
The Hasselblad X1D and X2D also have an Xpan crop mode. On the X1D, it was added by firmware v1.20, so make sure to update to the latest firmware if you don’t see it.
Hasselblad also make an official Xpan lens adapter to allow you to use the three original X-pan lenses on Hasselblad X-system bodies.
Other ways to get the Xpan look
With the above list, I focused on cameras that will allow you to get the Xpan look in-camera, with minimal fuss.
But, there are other creative ways to hep you get that Xpan look on a digital camera.
You can pick up one of these magnetic masks that you can stick to the front of a Ricoh GR, GR2 or GR3. This helps you with the composition, but you still need to crop in post.
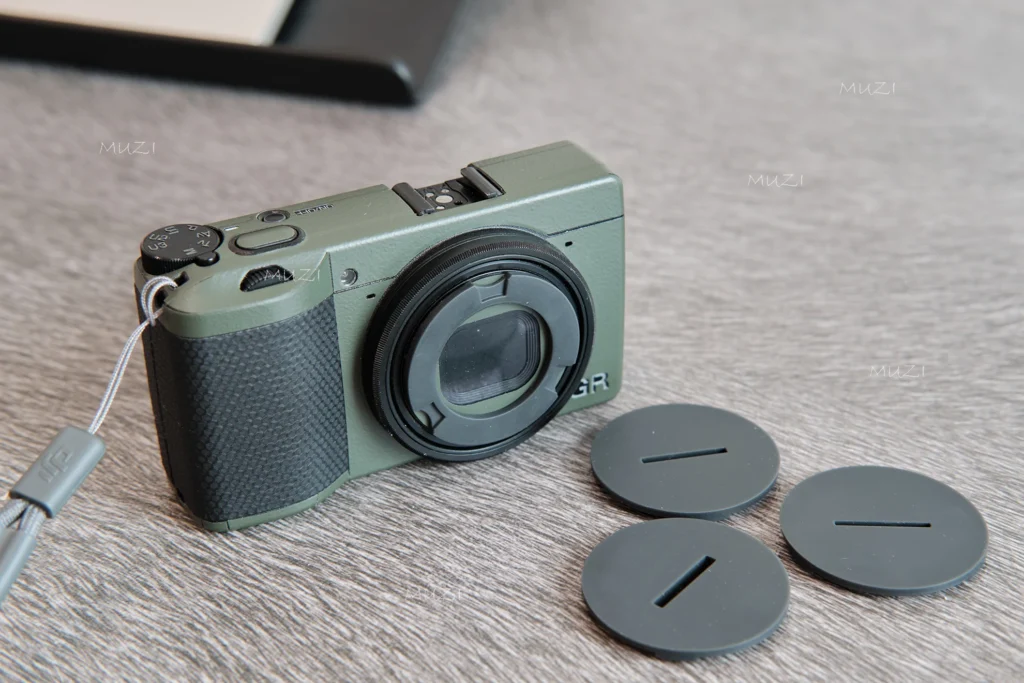
Or, you can stick some non-residue tape on the back of your LCD, this works too:
Why not just crop in post?
This is the common question. Doing any of the above is really just the equivalent of cropping post. So, why not just shoot a full sized image and crop later, right? This way, you get full flexibility and creative freedom to adjust your composition in Lightroom or your tool of choice. Right?
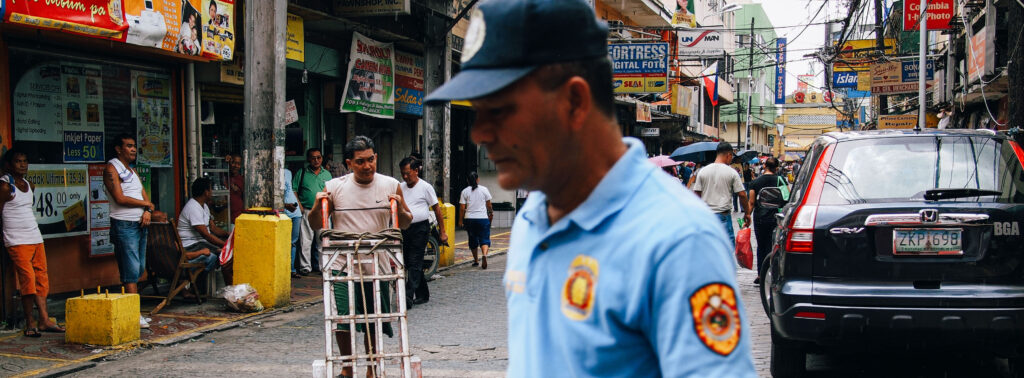
In my experience, cropping in post is really only useful if you’re trying to get more ‘reach’ with your lens or camera. It’s great for wildlife shots, for bird shots, or for distant landscapes. But for anything else, for street photography, urban photography, and especially for subjects that are just a few meters from the camera, trying to shoot with the intention to crop in post is very hard to do.
Why suffer through the mental gymnastics of ‘imagining’ what a shot will look like when cropped vs just seeing it in-camera? I don’t know about you, but I find it difficult to frame a scene without the actual frame visible.
That doesn’t just apply to trying to emulate the X-pan look. It applies to all other crops. Let’s take APS-C crop mode, that is found in most full frame cameras.
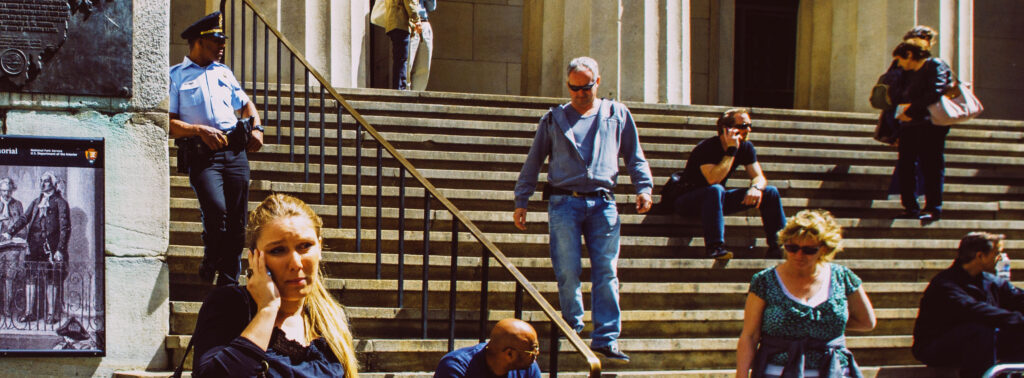
Imagine this: You’re using a 24mm lens on full frame with the intention to do a 1.5x crop to get a ~35mm lens equivalent field of view later. So, you shoot it in full frame mode, because you think you’d rather have the flexibility of cropping in post.
But, in practice, you’re out there viewing the world through the angle of view of a 24mm lens, so you will naturally take different kinds of images vs if you were actually viewing the world through the angle of view of a 35mm lens (or in crop mode with the 24mm lens). You’ll place yourself a certain distance away from your subjects, your perspective will be different, your frame of mind will be different, the way you interact with subjects will be different etc.
From a framing and composition standpoint, it allows you to shoot with a different frame of mind, than if you’d just shot it with a wider view.
And another thing is embracing constraints. It’s like shooting with a prime lens instead of a zoom lens, or shooting in black and white instead of shooting in color and converting to monochrome in post.
Constraints encourage a more deliberate and more critical way of shooting. You make deliberate creative choices because you know you have limited leeway to ‘fix’ things during post processing.
BUT, as discussed above, if you shoot in raw, all the cameras above will save the full resolution uncropped file.
XPan lenses and equivalent field of view
The Hasselblad Xpan had three lenses – a 30mm f/5.6, 45mm f/4 and 90mm f/4.
Since the Xpan basically shoots two 35mm frames side by side, the equivalent vertical field of view each lens is exactly the same as you would see on a 30mm, 45mm and 90mm full frame lens on a full frame camera. But, since you’re essentially doubling your horizontal field of view, calculating lens equivalence based on the usual diagonal field of view would be inaccurate.
The closest way to get an approximate view would be to calculate the horizontal field of view. You won’t exactly match the field of view of the three Xpan lenses, but it’ll be close.
Xpan 30mm = 94 degrees horizontal field of view = ~ 17mm lens on full frame
Xpan 45mm = 71 degrees horizontal field of view = ~ 25mm lens on full frame
Xpan 90mm = 40 degrees horizontal field of view = ~ 50mm lens on full frame
It’s a bit tricky to compare them, since most lenses only quote the diagonal field of view. But, since the whole point of the Xpan is the panoramic look, I think it makes more sense to compare the horizontal field of view only.
For me, the panoramic look is what I primarily want to achieve, so I’m not looking to exactly match the original Xpan lenses. I just pick a lens I like, and go from there.
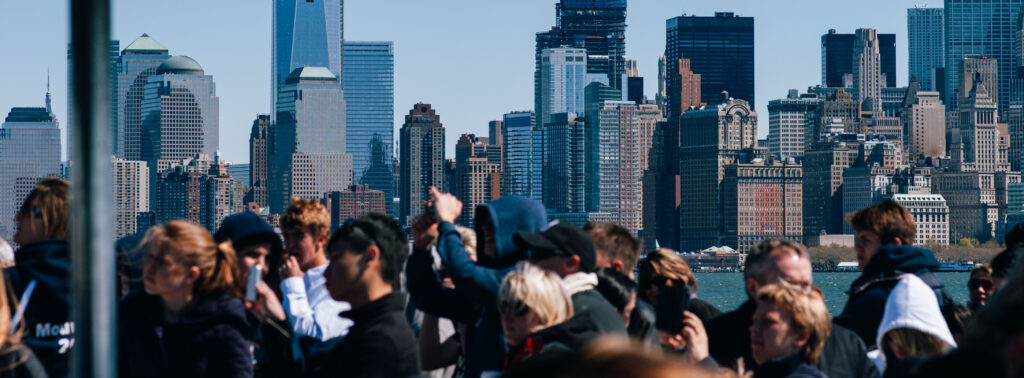
If you just want to experiment with the Xpan look, and want to see how you’ll get along with it, a quick an easy way to do this (if you have an iPhone), is to use either the excellent mood.camera app or the Ritchie Cam app, from the guy who popularized Fujifilm recipes. These two apps allow you to switch to a 65:24 crop mode.
There are other apps that simulate the Xpan look on smartphones, like the 65:24 camera app and the new XP4N app. Both these apps appear to have been built from the ground up specifically to use the 65:24 aspect ratio. I have no experience with these two apps at this time, however.
I’ve seen other discussions of this topic before, but yours is one of the most in-depth. I’ve got a Panasonic S1R with only one native lens, a Sigma 24mm f2 DG DN. This has given the best image quality out of any camera I’ve tried, and I love that EVF! (It may have ruined me for other cameras with “good enough” viewfinders.) I find that setting “digital tele” (1.5×) and 4:3 aspect ratio gives me a roughly 40mm-like normal FoV, which is a favorite to me. Yet, it’s only a couple of clicks and I’m in 65:24 XPan mode using the entire width of the sensor.
My only major gripe about the S1R is the size and weight, because I do normally trend toward smaller cameras. I am very intrigued by the rumors I’ve seen about a Fujifilm GFX100RF with fixed lens coming up soon. Have to keep an eye out for that.
The OnePlus phones have a partnership with Hasselblad, and offer an Xpan mode in the camera advanced settings – it’s amazing!
https://www.oneplus.com/us/13#anchor-2